"For centuries, the Nabooti tribe has been protected by the power of seven sacred jewels. But now, the jewels are missing! Trek across Africa to find the missing jewels and return them to the Nabooti tribe. You'll visit pyramids, ancient mines, and giant waterfalls on your online virtual world quest."
Welcome to Nabooti Island. Enter the Nabooti African Museum and talk to the woman beside the totem pole at the bottom. She will ask if you're interested in recovering the missing gems, and of course you are!
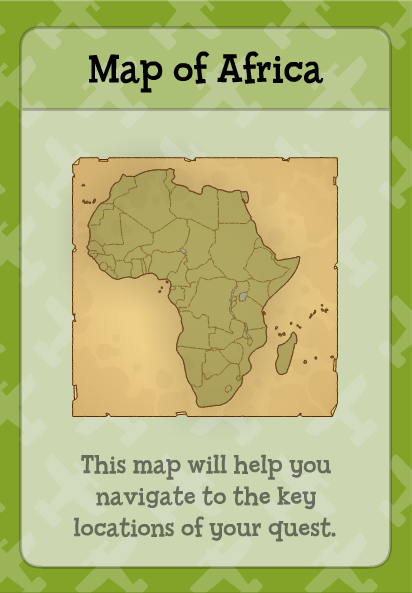
She will then give you a Map of Africa. Exit, and there will be a plane waiting for you. Enter the plane. You will now be able to traverse Africa! |
|
Blue Nile Falls (East of Nabooti)
|
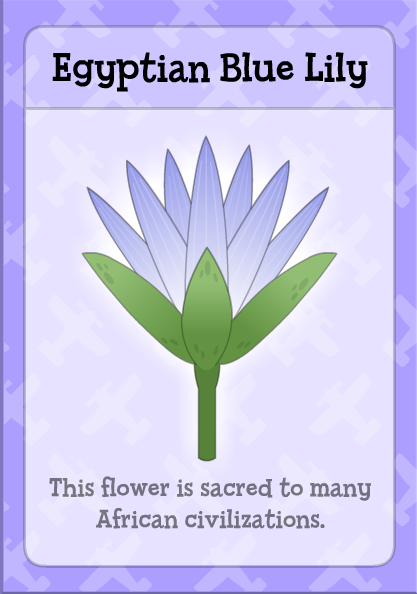
Once you land, jump on your plane, then keep going upwards until you reach the top. There, you will collect an Egyptian Blue Lily.
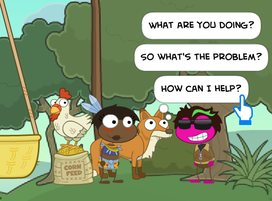
Now in the same manner, head upwards to the top, but this time, towards the right. There are multiple paths to get there! At the top, you will notice a woman with a chicken, a fox, and some feed. Ask how you can help, and she'll explain that you can't leave the chicken with the feed, or the fox with the chicken! |
|
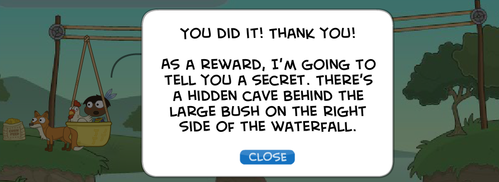
First, move the chicken to the right. Then go back, and move the feed to the right. As you leave the feed there, move the chicken BACK to the left. Disembark the chicken and embark the fox, then move the fox to the left. Finally, go back and move the chicken to the left. You did it - and, you get a secret!
|
|
|
Jump rightwards down the waterfall, and you will find the fern-bush covering the cave entrance. Click on it to remove it, then enter the cave!
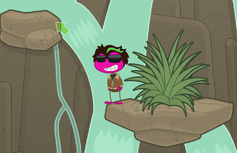
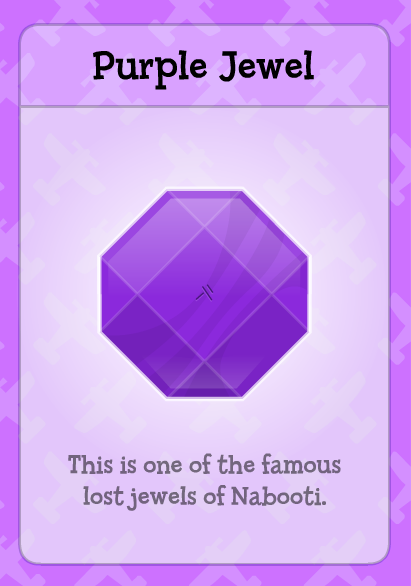
This part is a bit tricky, but with practice you'll nail it! Jump rightwards on the stalagmites until you reach the end, but beware of the falling stalactites! The good news is they won't regenerate; once they fall, they're gone. At the end, you will recover the lost Purple Jewel! Head back to your plane, the next destination awaits! |
|
Mountains of the Moon (Central Africa)
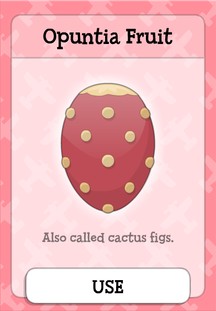
Watch out for the falling boulders and ramming goats! As you land, head leftwards, jumping over the goats. At the leftmost end of the screen, use the goat to ram you upwards onto the cliff above, then go right over top the trees and up to where a woman is collecting figs. Above her to the right is an Opuntia Fruit, grab it by jumping on the left rock and leaping towards it!
Afterwards, head right and up, careful not to fall down the waterfall or be hit by a boulder/goat, or you'll have to navigate up in the same way again.
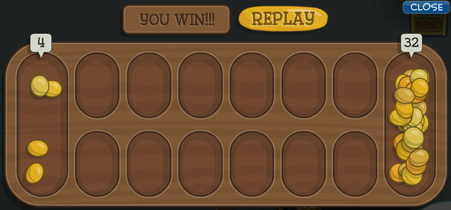
You will head left across a yellowish-grass area, then right when you're at the snowy peaks. At the peaks, be careful, as the ice is slippery! Keep climbing up following the trail until you reach a man in front of a cave entrance at the top right. Speak with him and he will challenge you to a game of mancala!
Afterwards, head right and up, careful not to fall down the waterfall or be hit by a boulder/goat, or you'll have to navigate up in the same way again.
You will head left across a yellowish-grass area, then right when you're at the snowy peaks. At the peaks, be careful, as the ice is slippery! Keep climbing up following the trail until you reach a man in front of a cave entrance at the top right. Speak with him and he will challenge you to a game of mancala!

|
|
The rules are simple:
1) You can only move your seeds in the cups in bottom row.
2) Your goal is to move more seeds to your well (on the right), than your opponent to their well (on the left).
3) Every cup starts with 3 seeds. When click a cup, the seeds will move counter-clockwise, depositing one seed to each cup you move until all the seeds are spread out.
4) If your last seed is deposited in your well, you get to go again.
5) If you last seed ends on in an empty cup, you capture all the seeds in the cup above/below as well.
6) The game ends when all the cups on one row are empty!
The one tip I can give that got me winning more was to stash more seeds in your row and let your opponent run out of seeds first. At the end, the remaining seeds in your row will be added to your well!
Good luck! (See if you can beat my high score shown above! If you did, be sure to leave your feedback!)
|
|
Once you have beaten him, enter the cave. Go straight down below the entrance, and pick up the Cell Phone beside the skull.
Now go back up, then cross the icy pillars all the way to the right to retrieve the Red Jewel (aren't you glad you practiced these jumps at Blue Nile Falls...). Return to your plane, your next destination awaits! |
Kaya Forests [Part I] (East of Nabooti)
|
Head right, all the way to the last hut (before the giant tortoise shell), then jump on top, and retrieve the Gold Nugget in the tree above. Then fly back to Nabooti for now; we'll return soon.
|
|
Back to Nabooti
Head rightwards to the market to make two trades. Trade with the lady in the middle your Egyptian Blue Lily for a Desert Turban, and with the man on the right the Gold Nugget for a Digital Camera!
|
|
Safari (East of Mountains of the Moon)
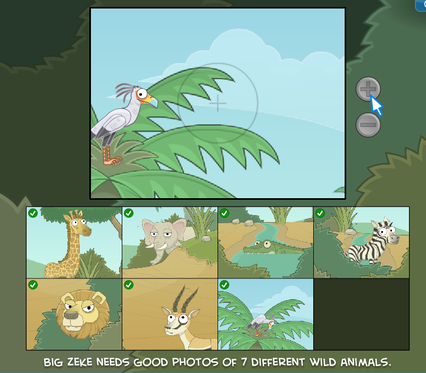
Head all the way right and talk to Zeke. Offer to help him take some photos of safari wildlife with your new camera!
Pan your cursor around as animals pop in and out. The check mark will indicate a good photo, while a red "x" indicates a bad photo. Once you capture 7 different animals, hit "close" at the top right. Here's a reference for where the animals are:
Pan your cursor around as animals pop in and out. The check mark will indicate a good photo, while a red "x" indicates a bad photo. Once you capture 7 different animals, hit "close" at the top right. Here's a reference for where the animals are:
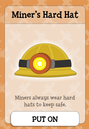
Zeke will give you his...Miner's Hard Hat in return? Good trade, I guess. Head over to your plane, it's time to go to the Diamond Mines!
Diamond Mines (South of Nabooti)
Equip your hard hat, then head over to the right. At the farthest right side, click on the switch on the generator and all power will be turned off temporarily. Run left, up the large mound of dirt, then at the peak, jump onto the crane, and keep going rightwards. Fall down onto the elevated grassy cliff, then keep going right until you reach a break in the barbed wiring. Jump on top of the oil canister, then enter the broken region of the fence.
Head to the left, and climb up the slopes until you reach the top, dodging rolling minecarts labeled "EXPLOSIVES" Donkey-Kong style. At the top, there is an elevator where the minecarts are coming out from; jump down into it.
Hit the green button to stop the minecart elevator. Now, go left and push the flammable barrel to the right. Hit the green button again and the minecarts will blow up the barrel. Repeat this again for the rock barrier at the far right.
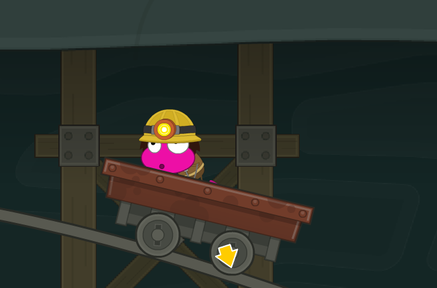
Go right while pushing the minecart, and as it starts moving on it's own, jump on top. Now you'll have to maneuver through the shaft until the cart reaches the end!
First, DUCK! Afterwards, jump above a stalagmite. Duck again, then jump, and duck. My advice is to stay near the left side of the cart to give yourself some room/time when jumping.
Head to the left, and climb up the slopes until you reach the top, dodging rolling minecarts labeled "EXPLOSIVES" Donkey-Kong style. At the top, there is an elevator where the minecarts are coming out from; jump down into it.
Hit the green button to stop the minecart elevator. Now, go left and push the flammable barrel to the right. Hit the green button again and the minecarts will blow up the barrel. Repeat this again for the rock barrier at the far right.
Go right while pushing the minecart, and as it starts moving on it's own, jump on top. Now you'll have to maneuver through the shaft until the cart reaches the end!
First, DUCK! Afterwards, jump above a stalagmite. Duck again, then jump, and duck. My advice is to stay near the left side of the cart to give yourself some room/time when jumping.
|
|
|
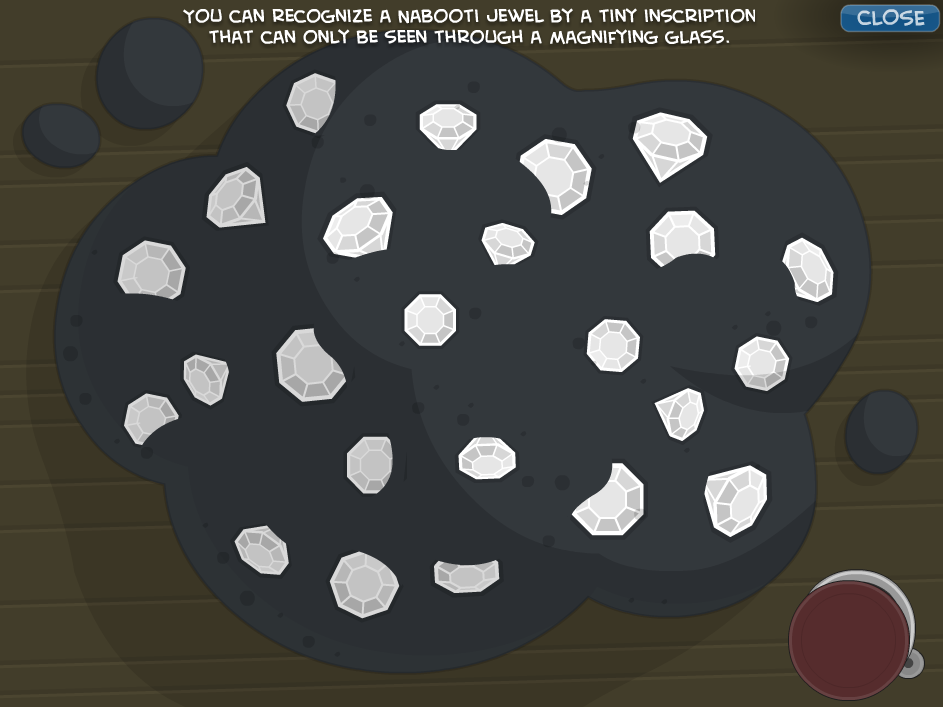
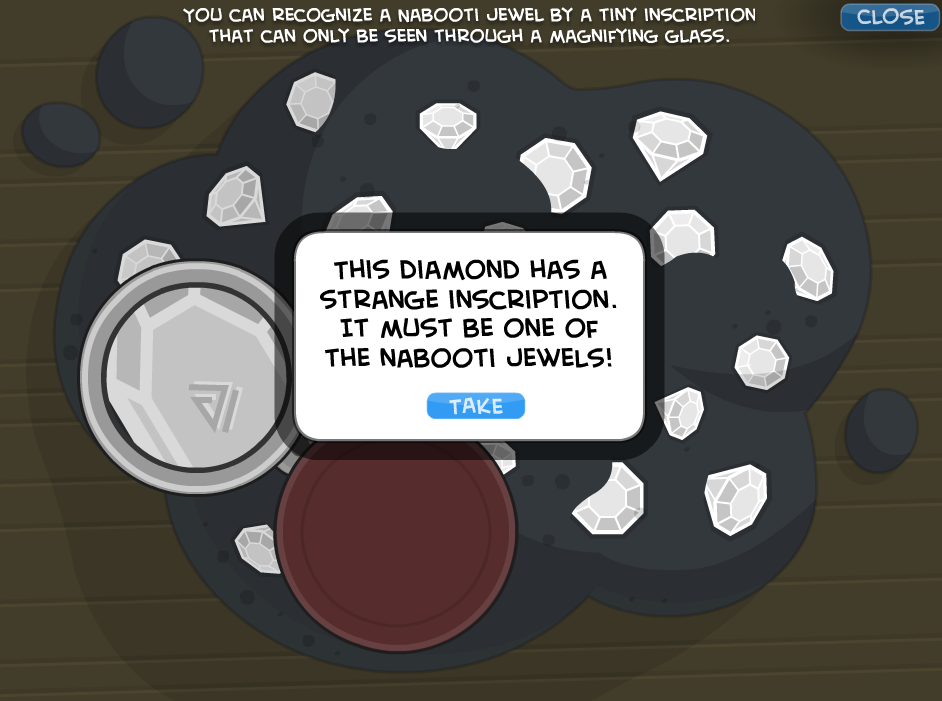
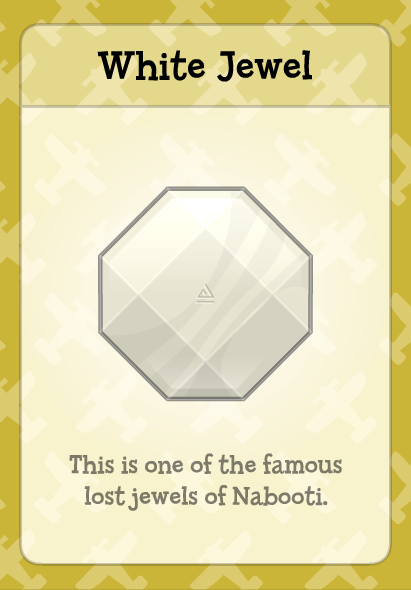
Run to the right, then climb up to your left until you reach a pile of white diamonds. Click on the pile and use the magnifying glass in the bottom right corner to look for the White Jewel! Take it, then go up to leave.
Giza (Northeast of Nabooti)
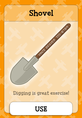
Put on your turban and head all the way right past the thieves. On your way right, a thief will give you a Shovel.
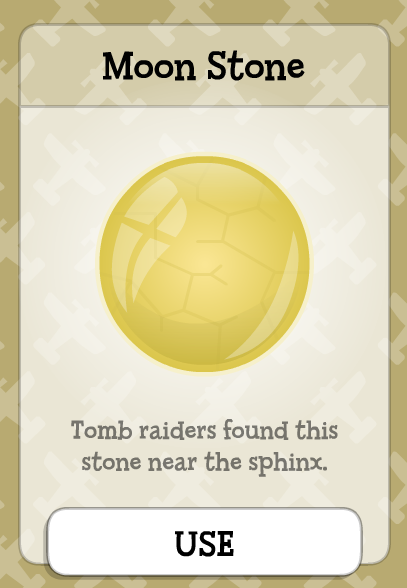
Use your phone from earlier and call the number engraved on the shovel (555-6789). As you do, Vince will be distracted, head to the right and click on his bag in front of the tent to steal the Moon Stone. |
|

Now climb up the sphinx-looking pyramid, and use the moonstone at the very top ring-like structure. This will open up the pyramid! Here is where the best part of this island begins.
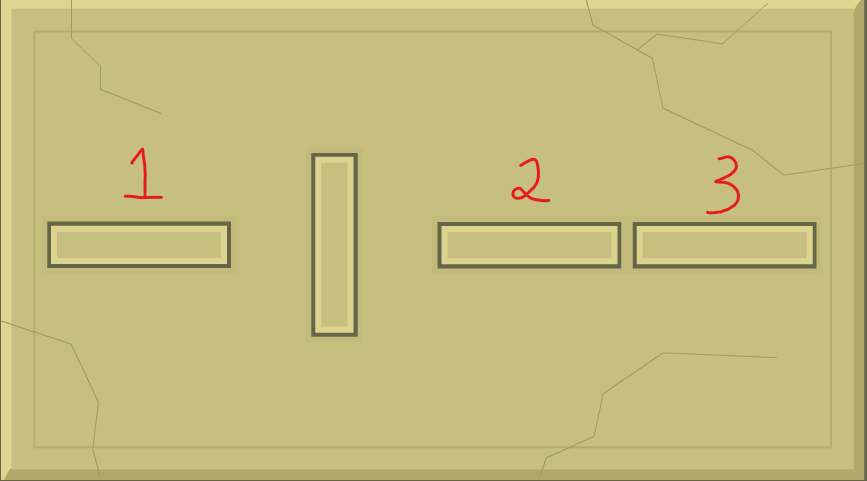
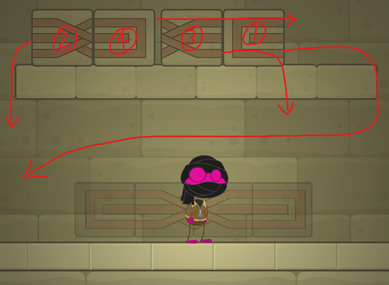
Memorize the inscription on the wall as you go right. Then move further to the write to interact with a panel in the wall. Your goal is to make each line horizontal, as those control platforms up ahead that you will need to cross. When you click one platform, the rest will flip in orientation while the one you click remains the same. I've numbered the order in which platform you should click:
Memorize the inscription on the wall as you go right. Then move further to the write to interact with a panel in the wall. Your goal is to make each line horizontal, as those control platforms up ahead that you will need to cross. When you click one platform, the rest will flip in orientation while the one you click remains the same. I've numbered the order in which platform you should click:

|
|
Now head right and run across the platforms. Keep going right. Go up, and you will be greeted with another puzzle. Follow the order shown below to solve it!
After aligning all the pieces correctly, proceed left where the hidden door has opened. Push one of the puzzle pieces to gain enough height to jump up there.
Navigate through this area carefully - if you step on the unstable blocks, you will fall back to the entrance. There will be a rope that you can climb up right before the first puzzle if this happened.
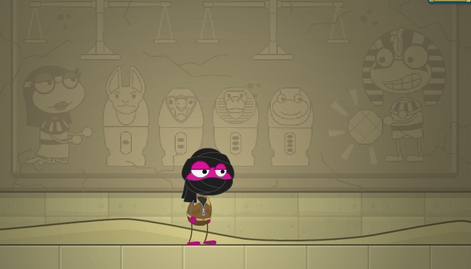
As you head left, walk across the unstable blocks then jump up onto the humanoid icon before the ground falls. Next, jump up onto the leftmost icon with the squiggles. Afterwards, jump up onto the icon third from the left with the staff and raven. Finally, jump up onto the right most icon with the eye. Jump up once more onto an unstable platform, then grab onto the rope and climb up as the ground falls beneath you!
This last puzzle's first hint is provided with this inscription:
Navigate through this area carefully - if you step on the unstable blocks, you will fall back to the entrance. There will be a rope that you can climb up right before the first puzzle if this happened.
As you head left, walk across the unstable blocks then jump up onto the humanoid icon before the ground falls. Next, jump up onto the leftmost icon with the squiggles. Afterwards, jump up onto the icon third from the left with the staff and raven. Finally, jump up onto the right most icon with the eye. Jump up once more onto an unstable platform, then grab onto the rope and climb up as the ground falls beneath you!
This last puzzle's first hint is provided with this inscription:
|
The canopic jars are labeled 1 to 4. These correlate with a lever which you must pull in that order. But beware, once you pull a lever, sand will start pouring, so you must finish this fast!
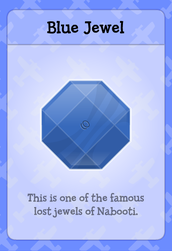
Labelling the pillars from left to right as 1, 2, 3, and 4: First, pull the lever on the 4th pillar which is jar 1. Secondly, pull the lever on the 2nd pillar which is jar 2. Thirdly, pull the lever on 3rd pillar which is jar 3. Lastly, pull the lever on the 1st pillar which is jar 4. When you have successfully done so, the sarcophagus in the middle will open to reveal to you the lost Blue Jewel! Exit on the left side, then out the pyramid, and fly back to Kaya Forests. |
|
Kaya Forests [Part II] (East of Nabooti)
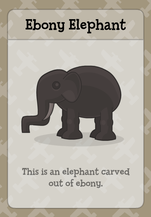
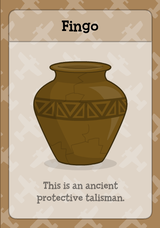
Go right to the tortoise, and place the fig (opuntia fruit) down. As it stands up, use your shovel to dig where the tortoise once was sitting! You will obtain an Ebony Elephant and summon 2 ghosts. They will ask for you to return to them a lost Fingo.
Fly back to Nabooti, trade the ebony elephant with the leftmost lady in the marketplace for a Fingo, then fly back to Kaya Forests to give the Fingo to the spirits. In return, they will give you the Green Jewel! |
|

Nabooti - Finale
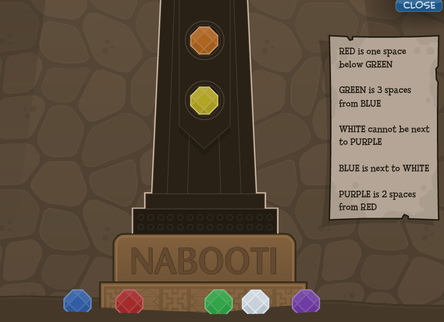
Return to Nabooti and enter the museum - you now have all the lost jewels! Here are the set of clues you're given, and a solution will be provided below as well:
|
|
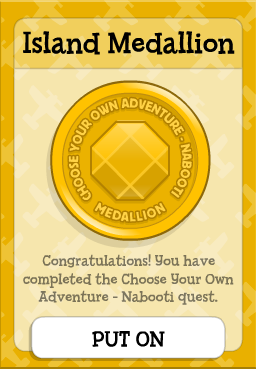
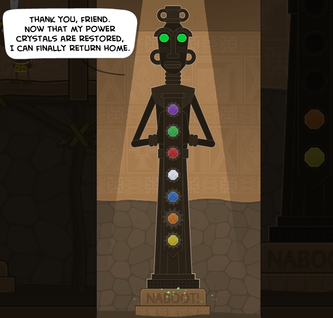
Incredible, you restored a cosmic artifact! As a token of appreciation, you are awarded with the island medallion. Congratulations!